Online Sale!
100% Guaranteed Genuine Parts
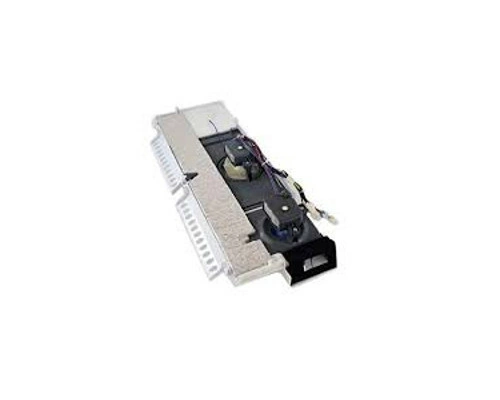
AEB72913942 LG Fan Grille Assembly
Maintain the efficiency of your LG refrigerator with this essential fan grille assembly. Crafted by LG Electronics, this high-quality replacement part ensures proper airflow, contributing to optimal cooling performance in your appliance. Designed specifically for LG refrigerators, the grille assembly is an ideal fit, making installation straightforward and hassle-free.
Made from durable materials, it provides long-lasting functionality and protects the internal components of your refrigerator. Whether you're addressing wear and tear or performing routine maintenance, this fan grille assembly is a dependable choice for keeping your refrigerator running smoothly. Maintain your appliance with this critical component and maintain the reliability you expect from LG.
Weight : 22.74 lbs
Package Dimension : 36.57 x 14.25 x 6.06
Compatible Brands


About this product
Maintain the efficiency of your LG refrigerator with this essential fan grille assembly. Crafted by LG Electronics, this high-quality replacement part ensures proper airflow, contributing to optimal cooling performance in your appliance. Designed specifically for LG refrigerators, the grille assembly is an ideal fit, making installation straightforward and hassle-free.
Made from durable materials, it provides long-lasting functionality and protects the internal components of your refrigerator. Whether you're addressing wear and tear or performing routine maintenance, this fan grille assembly is a dependable choice for keeping your refrigerator running smoothly. Maintain your appliance with this critical component and maintain the reliability you expect from LG.
Weight : 22.74 lbs
Package Dimension : 36.57 x 14.25 x 6.06
DIY Guide to Replacing the AEB72913942 LG Fan Grill Assembly
1. Gather the necessary tools and materials. You will need a Phillips screwdriver, a flathead screwdriver and a new AEB72913942 LG Fan Grill Assembly replacement.
2. Unplug your appliance. Before starting any work on the appliance, make sure it is unplugged from the wall outlet.
3. Remove the old grill assembly. Using the Phillips screwdriver, unscrew the four screws securing the old assembly to the fan housing. Then remove the old assembly.
4. Install the new grill assembly. You will need to align the new grill assembly with the fan housing and secure it with the four screws. Use the flathead screwdriver to secure the screws, making sure not to over-tighten them.
5. Check for proper installation. Make sure the new grill assembly is properly installed before you reconnect the appliance to the power source.
6. Reconnect the appliance to its power source and test it. Once the appliance is plugged in and running correctly, you have successfully completed your repair.
Please keep in mind, these instructions are for general guidance and should always be used in conjunction with the manufacturer's manual, if available.


