Online Sale!
100% Guaranteed Genuine Parts
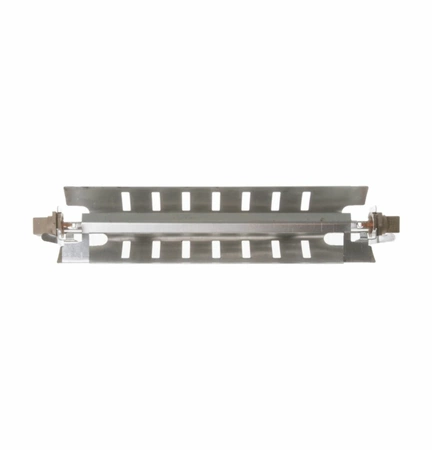
WR51X10055 GE Refrigerator Defrost Heater Bracket Assembly
WR51X10055 GE Refrigerator Defrost Heater and Bracket Assembly
Weight : 3.308900 lbs
Dimension : 13.000000 x 5.800000 x 6.100000
Compatible Brands


About this product
WR51X10055 GE Refrigerator Defrost Heater and Bracket Assembly
Weight : 3.308900 lbs
Dimension : 13.000000 x 5.800000 x 6.100000
The following parts are replaced by this product
- WR51X10030
Step 1: Unplug Your Refrigerator - Before starting any repairs, make sure to unplug your refrigerator from the wall or power strip.
Step 2: Remove the Access Panel - The access panel is usually located on the back of the refrigerator. To remove it, take off the screws holding it in place and carefully pull it away.
Step 3: Remove the Existing Heater and Bracket Assembly - With the access panel removed, the existing heater and bracket assembly should be visible. Gently pull them away from the evaporator coils, taking note of how they are connected.
Step 4: Replace the Defrost Heater and Bracket Assembly - Carefully insert the new heater and bracket assembly into the same position as the old one. Make sure all connections are secure and the defrost timer is set correctly.
Step 5: Reattach the Access Panel - Once the heater and bracket assembly is replaced, put the access panel back in place. Use the same screws that were used to remove it to secure the panel.
Step 6: Plug In and Test - Finally, plug in your refrigerator and turn it on to make sure the replacement was successful. If all went well, your refrigerator should now be working correctly.
Please keep in mind, these instructions are for general guidance and should always be used in conjunction with the manufacturer's manual, if available.
Write Your Own Review


