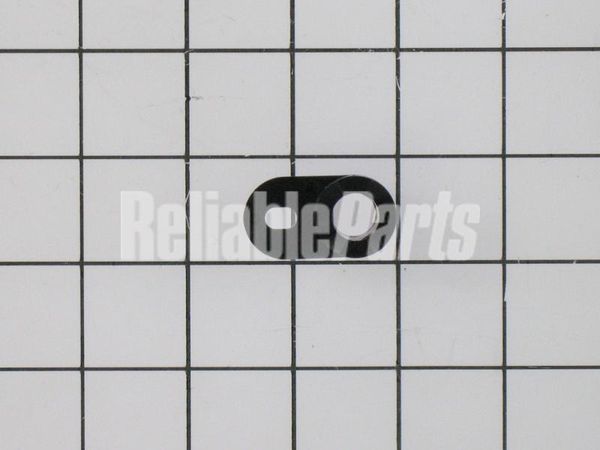
WR02X11478 GE Closing Cam

Introducing the GE WR02X11478 CAM & THIMBLE FF, . We're your #1 source for genuine OEM appliance parts. Contact us for further questions as well as any other appliance parts needs!
Introducing the GE WR02X11478 CAM & THIMBLE FF, . We're your #1 source for genuine OEM appliance parts. Contact us for further questions as well as any other appliance parts needs!
Write Your Own Review
1. Unplug the refrigerator from the wall outlet and turn off the water supply to the refrigerator if you have an ice maker.
2. Remove the shelves and drawers from the freezer and refrigerator compartments, as well as any other components that may be blocking access to the Cam & Thimble FF.
3. Use a flathead screwdriver to remove the three screws along the top ridge of the Cam & Thimble FF.
4. Push gently but firmly on the bottom of the Cam & Thimble FF to unlock the unit from the refrigerator frame.
5. Lift the Cam & Thimble FF out, being careful not to snag any wires or other components.
6. Place the new Cam & Thimble FF into the refrigerator frame, making sure all screws, wires and components line up with the original.
7. Secure the new Cam & Thimble FF by replacing the three screws along the top ridge.
8. Reassemble the shelves and drawers in their original positions.
9. Turn the water supply back on and plug the refrigerator into the wall outlet.
Please keep in mind, these instructions are for general guidance and should always be used in conjunction with the manufacturer's manual, if available.


