Online Sale!
100% Guaranteed Genuine Parts
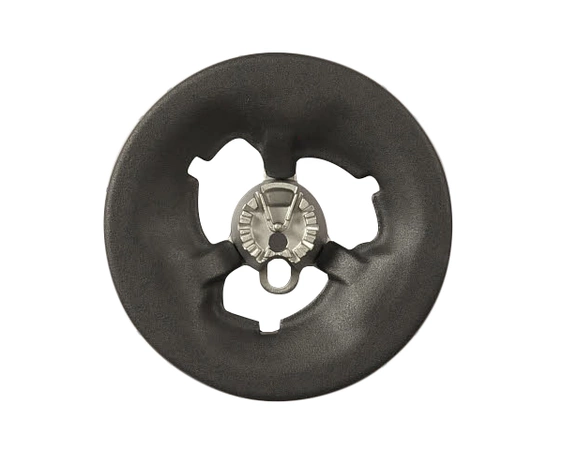
WB16K10079 GE Oven Surface Burner
Maintain your cooking experience with this high-quality gas burner and control valve, designed specifically for select GE appliances. Crafted for compatibility with a range of brands including Hotpoint, Haier, Monogram, and Café, this component ensures optimal performance and reliability in your oven. It plays a crucial role in delivering precise heat control, allowing you to master any recipe with ease. With a robust construction, this burner is built to withstand the rigors of daily use, providing you with long-lasting service and efficiency. Perfect for repair or replacement, installing this part can revitalize your oven’s performance while maintaining compatibility with your existing setup. Elevate your kitchen capabilities today with this essential oven part.
Weight : 2.369700 lbs
Dimension : 11.574800 x 10.039300 x 2.834600
Compatible Brands


About this product
Maintain your cooking experience with this high-quality gas burner and control valve, designed specifically for select GE appliances. Crafted for compatibility with a range of brands including Hotpoint, Haier, Monogram, and Café, this component ensures optimal performance and reliability in your oven. It plays a crucial role in delivering precise heat control, allowing you to master any recipe with ease. With a robust construction, this burner is built to withstand the rigors of daily use, providing you with long-lasting service and efficiency. Perfect for repair or replacement, installing this part can revitalize your oven’s performance while maintaining compatibility with your existing setup. Elevate your kitchen capabilities today with this essential oven part.
Weight : 2.369700 lbs
Dimension : 11.574800 x 10.039300 x 2.834600
Replacing the GE WB16K10079 BURNER ASSY
1. Turn off the gas supply to the stove and disconnect the power cord.
2. Remove the knobs, screws, and bolts that attach the stovetop to the countertop.
3. Lift the stovetop and set it aside.
4. Slide a putty knife under the old burner assembly and pry it away from the pins attached to the stovetop.
5. Unhook the ignitor wires from the old burner assembly.
6. Place the new burner assembly on the stovetop and align the pins with the holes in the back of the assembly.
7. Reconnect the ignitor wires to the new burner assembly.
8. Replace the mounting screws, bolts, and knobs.
9. Turn on the gas supply and reconnect the power cord.
10. Test the new burner assembly by setting the knob to the light flame setting and ensuring the burner lights up.
Please keep in mind, these instructions are for general guidance and should always be used in conjunction with the manufacturer's manual, if available.
Write Your Own Review


