Online Sale!
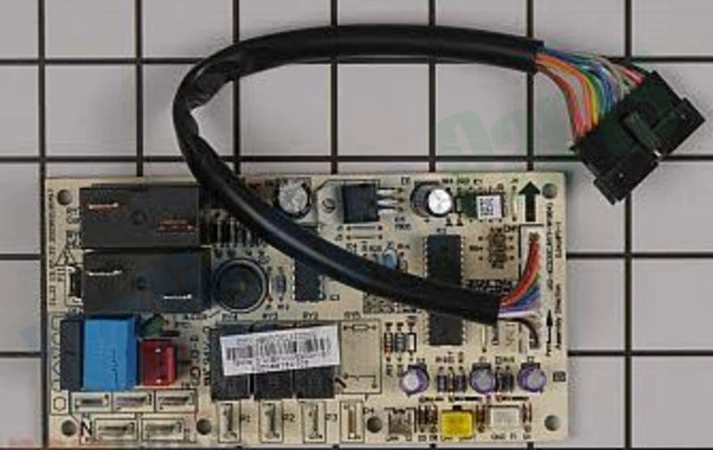
17120300000542 Comfort-Aire Conditioner Main Control Board
NOTE: When ordering parts from the website, please verify your part number is correct for your model before ordering. Parts may look the same but the size and shape can have small variations.
Weight : 0.000000 lbs
Compatible Brands

About this product
NOTE: When ordering parts from the website, please verify your part number is correct for your model before ordering. Parts may look the same but the size and shape can have small variations.
Weight : 0.000000 lbs
No more associated models for this part.
DIY Instructions on Replacing the 17120300000542 Conditioner Main Control Board Assembly
In order to replace the main control board assembly in a conditioning unit, you will need to take several safety precautions and gather some necessary tools. Before starting any electrical work, make sure to turn off power to the unit at the main circuit breaker to avoid any accidental shocks or fires. Additionally, before beginning, please consult the manufacturer’s instructions for the specific type of model of conditioning unit you are working with.
Step 1: Gather Tools
Phillips head screwdriver
Flat head screwdriver
Nut driver
Electrical tape
Wire cutter
Step 2: Remove Old Control Board Assembly
Use the Phillips head screwdriver to remove the screws that secure the back cover of the conditioner. Be sure to place the screws in a safe location, as you will need them later.
Using the flat head screwdriver and/or nut driver, carefully remove the wires that are attached to the old control board assembly. Make note of the colors of the wires so you know where to attach the new control board assembly later.
Once the wires have been disconnected, use the screwdriver to remove the screws that are securing the control board assembly to the conditioner. Once the screws have been removed, the old control board assembly should come off easily.
Step 3: Prepare New Control Board Assembly
Before installing the new control board assembly, make sure that it is properly secured inside of its own housing. If it’s not, use the Phillips head screwdriver to firmly secure it in place.
Step 4: Install New Control Board Assembly
Use the Philips head screwdriver to install the new control board assembly into the conditioner. Make sure to securely tighten the screws to ensure it stays in place.
Once the new assembly is installed, use the wire cutter to cut the electrical tape off the wires. Take each wire and attach it to the appropriate terminal on the new control board assembly, making sure to match the colors of the wires to the terminals. After all of the wires have been connected, use electrical tape to cover up the connections for added protection.
Step 5: Replace Back Cover
Once the new control board assembly is installed, use the Phillips head screwdriver to secure the back cover onto the conditioner.
Step 6: Test
Once the back cover has been replaced, turn the power back on and test to make sure the new control board assembly is functioning correctly.
Congratulations! You have successfully replaced your 17120300000542 conditioner main control board assembly.
Please keep in mind, these instructions are for general guidance and should always be used in conjunction with the manufacturer's manual, if available.
Write Your Own Review


